Garlic Rosemary Sous Vide Steak sounds impressive but it’s so simple with the right tools and techniques. Like this foolproof sous vide steak recipe that yields an evenly cooked center and nice dark crust.
Jump to:
What is sous vide?
Sous vide is the process of vacuum sealing food in a bag, to cook it to a very precise temperature in a water bath. Sous vide means “under vacuum” in French.
Many people wonder why sous vide steak? But it’s because sous vide cooking allows you to precisely control your cooking temperature to achieve perfect results, every time.
This hands off cooking method popular with professional chefs is now easier than ever to do yourself at home thanks to FoodSaver® and this step-by-step sous-vide guide that will have you vacuum sealing and sous viding the most mouthwatering steak, chicken, fish and vegetables.

Benefits of sous vide cooking
The best part of sous vide cooking with loved ones is the time you have to enjoy each other’s company while your delicious meal cooks! But vacuum sealed sous viding also helps with meal prep, food storage and more!
- Perfect for entertaining – Sous vide makes entertaining a breeze! Sous Vide Steak can be fully cooked in advance of your dinner or party then quickly and impressively finished on on the stovetop or grill while your guests wait.
- Makes meal prep easy – FoodSaver® Vacuum Seal Rolls and Bags can go straight from the freezer to a hot water bath, with no separate defrost required. Which means you can easily fill your fridge or freezer with delicious high quality quick freezer meals.
- Minimizes waste and saves money – With a cooking process that makes it impossible to overcook, burn, scorch and waste you can guarantee that amazing piece of meat you bought will make it to your plate as intended. Because of the low and slow cooking method the juices to stay in and even the cheapest cuts of meat become tender and delicious.
Sous vide equipment
- Sous vide steak machine – There are many great varieties of immersion circulators or sous vide machine. The most widely available machines are Anova sous vide machines but Joule sous vide are known to be the best of the best on the market. And there are a wide range of other great machines from Instant Pot, Crux, and more!
- FoodSaver® Automatic Vacuum Sealing System and FoodSaver® Multipack Bags or Vacuum Seal Rolls- specifically designed to withstand boiling temperatures, FoodSaver® Rolls and Bags are BPA-Free and safe to use. Their multi-layer construction and powerful heat-seal provide excellent durability to resist punctures and tearing while cooking. So you can rest assured that all the flavor and juices will stay in and all the water and oxygen will stay out. For the easiest, most consistent sous-vide cooking results possible! To make your own custom sized vacuum bag with the FoodSaver® Vacuum Sealing Roll. Simply cut the size you need, adding 4″ for sealing area. Then press the ‘seal’ button and holding it straight and level to the counter center the cut section between the guidelines. Insert, curl side down, into the FoodSaver® until the clamp motor stops and the red indicator light turns off.
Ingredients
- Steaks – The best steaks for sous vide are really anything you have on hand! The recipe calls for tenderloin steaks but you can substitute porterhouse, t bone, ribeye, new york, filet mignon, ny strip, etc. If substituting a thicker steak cut like Ribeye, porterhouse, strip steak add 20-30 minutes or more depending on thickness.
- Seasoning – garlic powder, salt and pepper. You could also use any dried seasoning you like to season the steaks like chili powder, black pepper, garlic powder, etc.
- Aromatics – rosemary and garlic. You can also add other hearty herbs like thyme or onions and shallots. You can add butter, preserves, chile sauce, mustard or more but only a dollop as you don’t want to risk interfering with the vacuum sealing process.
- Cooking oil
- Butter
How to sous vide steak
To sous vide you simply vacuum seal a protein with marinade, sauce, herbs, or spices and drop it in a large pot of water. There’s no contact with a heated metal surface. No contact with flames or steam or smoke. The water never comes to a boil.
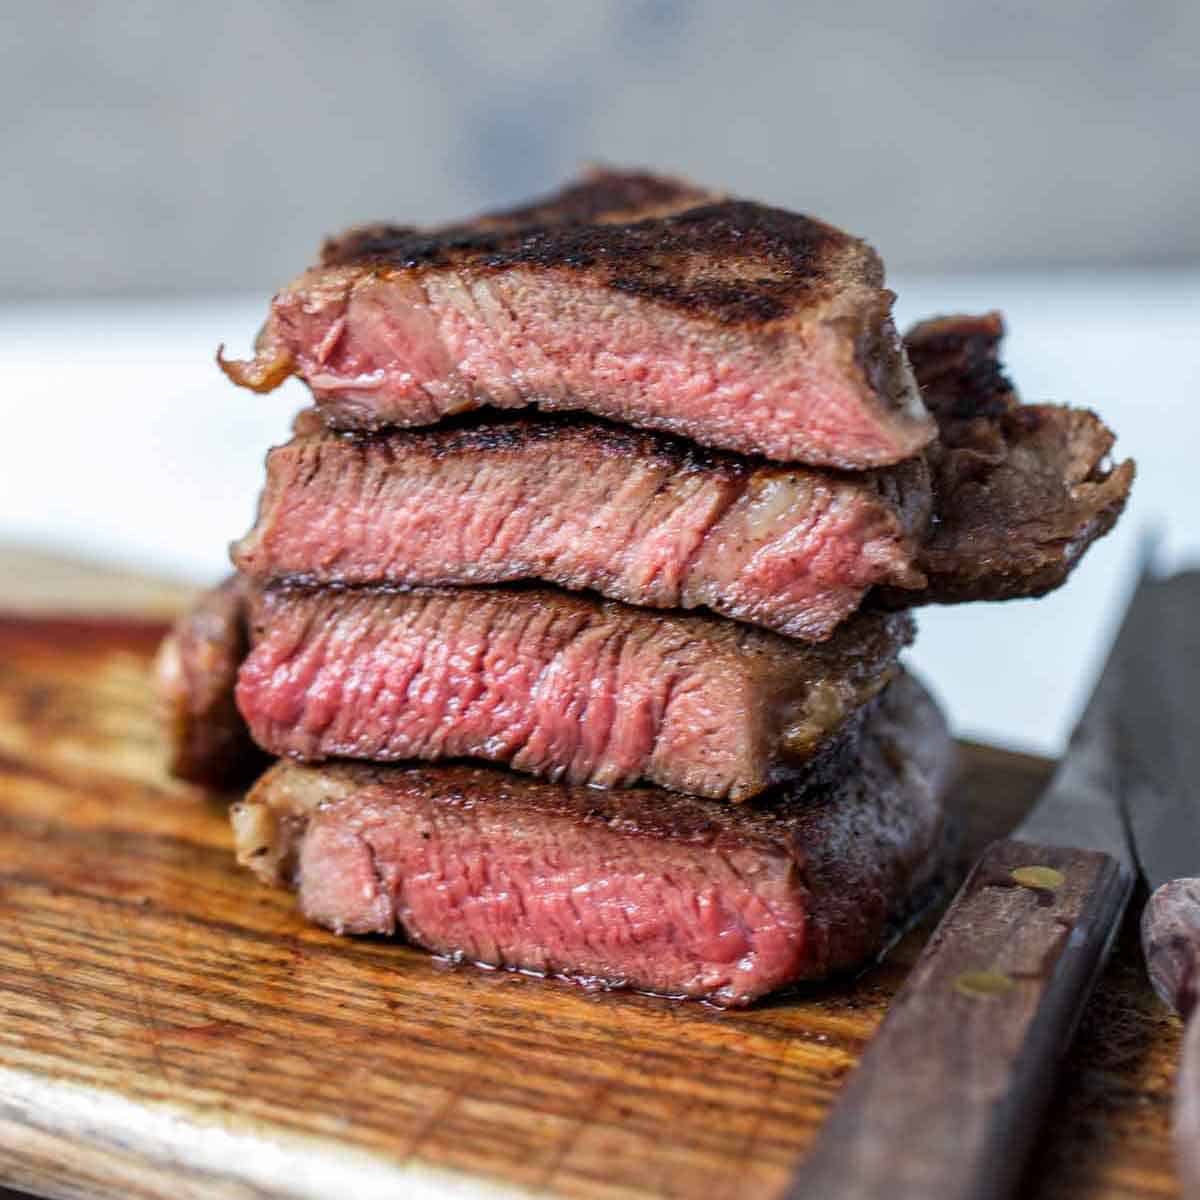
Cooking sous vide steak is essentially is a two-phase process that’s referred to as reverse sear steak because the steak is first sous vide to the perfect temperature before it’s seared in a hot skillet. This sear develops develop color, flavor, and texture.
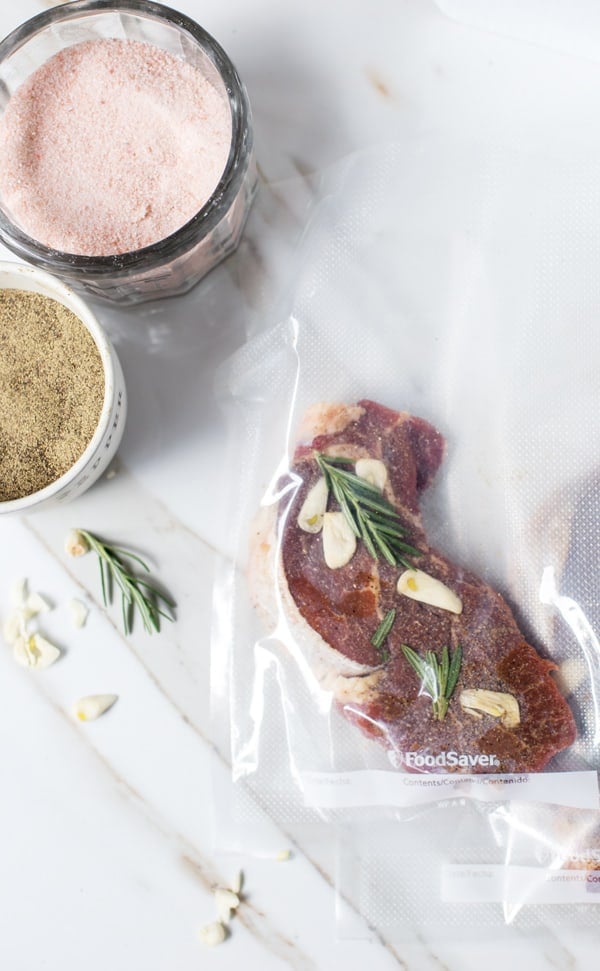
- Season steak – with a good amount of sea salt and whatever other dried seasonings you desire.
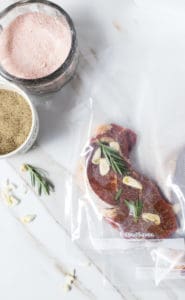
- Add aromatic seasonings – place seasoned steak in food-grade vacuum bag leaving at least 4 inches of space between steak and top of bag and place garlic and rosemary on steak.
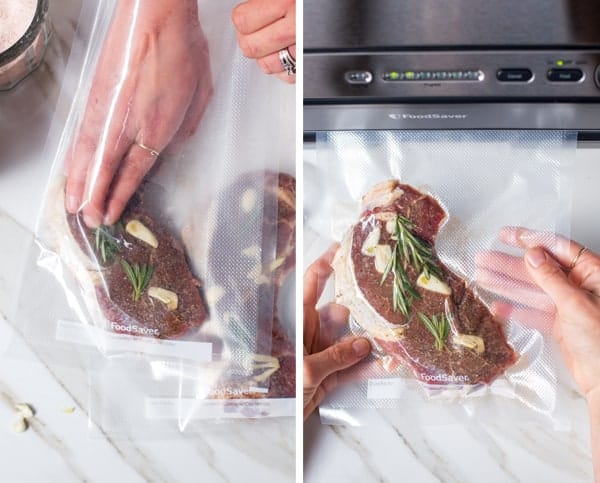
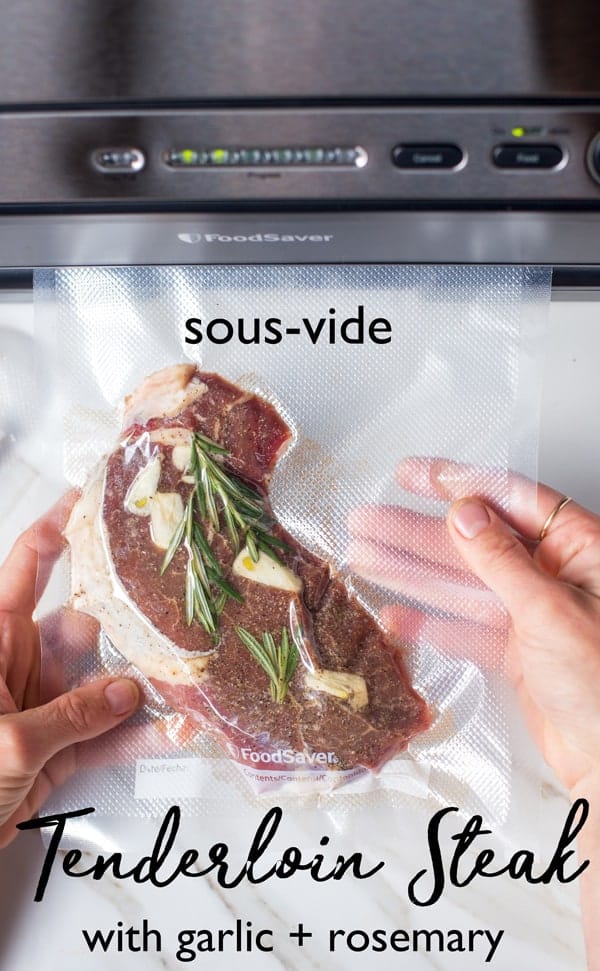
- Vacuum seal – using two hands, slowly insert open end of vacuum bag, curl down, into the vacuum channel. Continue to hold bag until vacuum pump starts. The vacuum progress lights will illuminate and you can let go. When red indicator light turns off, remove the bag. Wait at least 20 seconds before sealing again. At this point you can either freeze steak or refrigerate to sous vide later. Or immediately continue cooking with the next step.
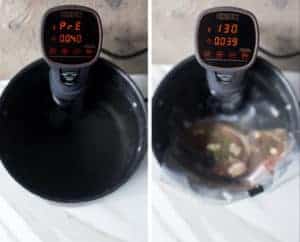
- Prepare sous vide system. Fill a big pot with warm water. Clip or stand your sous vide machine in water according to the device’s specifications. And set the desired time and temperature based on the type of steak and desired doneness.
- Allow the water bath to come to temperature then carefully drop the vacuum bag into the water bath. Make sure not to block the intake or output sections of your precision cooker. If properly sealed, the steak should sink. You can also clip vacuum bag to the opposite side of the pot to further ensure the bag doesn’t block the sous vide cooker.
- Sous vide steak to desired doneness. Leave it a little too long? No big thing. As long as the water never rises above the temperature for the desired doneness it will never overcook!

- Once cooked to the desired temperature remove vacuum bag from water. At this point you can serve as is straight out of the vacuum bag but in my opinion a quick finish is a hot pan to sear steaks is essential for a delicious sous vide steak recipe. Alternately to make sous vide steaks ahead of time refrigerate for several days or freeze for several months, see below for more information.
- Remove sous vide steak from package and dry thoroughly with paper towels.
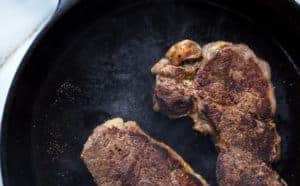
- Sear steak until each side has a nice dark crust over high heat in a heavy bottomed or cast iron pan. Or on a grill.

- Serve and enjoy!

How to serve
Serve sous vide steak with Chimichurri Verde or with a nice Compound Butter. A side of Flaky Biscuits or Homemade Cornbread and Dill Potato Salad would round out the sous vide steak dinner perfectly.
Alternately, make an easy garlic rosemary pan sauce that uses the juices left in the bag and the bits left in the pan after searing. To make rosemary pan sauce reduce heat to medium, add 2 tablespoons butter, minced garlic and chopped thyme. Add juices from bag and simmer until reduced. Or add a splash of beef or vegetable stock if there aren’t enough juices leftover. Remove from heat, swirl in a dollop of butter and serve alongside sous vide steak.
Sous vide steak temperature chart
Wondering what sous vide temperature to use for steak? And how long to set it?
Cook time is not not as important as temperature when cooking sous vide steak. Because food set to a certain temperature will never rise above that temperature. So no matter how long you leave it, a medium rare steak will stay medium rare.
Although some suggest cooking sous vide steak for up to 24 hours the texture will change after too long. So it’s not recommended to leave something like a beautiful tenderloin or t-bone steak in for more than 3-4 hours max (depending on size and thickness).
- Medium rare – 40 minutes to 130 degrees Fahrenheit.
- For Medium – 135 degrees Fahrenheit.
- Medium well – 150 degrees Fahrenheit.
- Well done – 56 degrees Fahrenheit or above.
How to make ahead of time
There are a few ways to make sous vide steak ahead of time.
- Vacuum seal and freeze proteins when you return home from the grocery store and you’ll have a freezer full of ready-to-sous-vide meals on hand!
- Take it up a notch and pre-season your vacuum sealed proteins with herbs, marinades and spices. Frozen vacuum sealed foods can go straight from freezer to sous vide. To make sous vide steak from frozen add an additional 30 minutes – 1 hour to the sous-vide time. Depending on the thickness.
- Instead of cooking sous vide steaks from frozen you could alternately vacuum seal and cook your meals ahead of time. Sealed sous vide steaks can be pre-cooked and refrigerated up to 4 days. Or frozen for up to 4 months. Reheat with sous vide machine at 100 degrees Fahrenheit until warmed through, about 1 hour, before serving. Or allow steak to defrost then sear and serve.
📖 Recipe
Ingredients
- 1.5 pounds tenderloin steaks ¾" to 1" thick boneless steaks, about 4-6 ounces each
- ¼ teaspoon garlic powder
- 4 sprigs fresh rosemary
- 4 cloves garlic
- 2 tablespoons cooking oil
- 2 tablespoons butter
- salt
- black pepper
Instructions
- Fill a large pot with warm water, clip or stand your sous-vide machine up in it according to the device’s specifications, and set the desired time to 40 minutes and temperature to 135 degrees fahrenheit for medium, or as desired.
- Season steaks liberally with salt, pepper and garlic powder. Place each steak in vacuum bag leaving at least 4 inches of space between the steak and the top of bag. Evenly distribute sliced garlic and rosemary sprigs on top of steak and vacuum seal.1.5 pounds tenderloin steaks, ¼ teaspoon garlic powder, 4 sprigs fresh rosemary, 4 cloves garlic
- Allow the water bath to come to temperature then carefully lower into water. Clip to the opposite side of sous vide machine.
- Once the time is up, remove bag from water and let rest up to 10 minutes if desired. Remove steaks from the bag reserving any juices and place steak on a paper towel–lined plate. Pat it dry very carefully on both sides. Season again with salt and pepper.salt, black pepper
- Heat oil in heavy skillet over high heat. When the oil is shimmering, add the steak and sear until well-browned, about 30 seconds per side. Transfer steak to a cutting board and let rest for 5 minutes. Remove, top with a dollop of butter and serve.2 tablespoons cooking oil, 2 tablespoons butter
Nutrition






Corina Blum
I’ve never tried cooking anything sous vide but this looks so good and perfectly cooked too! My mouth is watering!
ONE armed MAMA
Thanks Corina! You should think about trying out sous vide… it’s amazing!
Julie @ Running in a Skirt
This looks like a great way to make a steak! My husband would love it- looks like it really keeps it moist too! So delish.
Amanda
Great photos and a very informative post!
Loyola
Thanks for sharing such an informative post. Love the way the steak looks, juicy and tender.
Brian Jones
That looks superb, I have been considering getting a Sous Vide set up for a while… Maybe santa will hook me up later this year 😉